How to Scan a Single File or Folder With Windows Security
While we have many premium security suites for Windows these days, the question is, do we need them? Windows 10 and Windows 11 operating systems ship with a Windows defender security suite that shields your PC/Laptop from known and unknown security threats.
Many users believe that Windows security is not as reliable as the third-party security programs, but it’s a myth. Microsoft’s Windows Security application is pretty powerful and reliable as the third-party option. It can protect your computer from malware and viruses and provide your PC with a solid defense against rising ransomware attacks.
Other than that, Windows security offers additional features such as periodic scanning, controlled folder access, tamper protection, isolated browsing, and more. One feature of Windows security that often goes unnoticed is the ability to scan a single file or folder stored on the HDD/SSD.
If you suspect that a single file or a folder has a virus or malware, instead of scanning your entire system, you can force Windows Security to scan only the selected particular file/folder. Hence, if you are looking for ways to scan a single file or folder with Windows Security, you have landed on the right page.
Steps to Scan a Single File or Folder With Windows Security
This article will share a step-by-step guide on scanning a single file or folder with Windows security in Windows 11. The steps will be short; follow them as mentioned.
1) Run a Custom Scan from Windows Security App
We will use the Windows Security app to scan a single file or folder in this method. Here are some of the simple steps you need to follow.
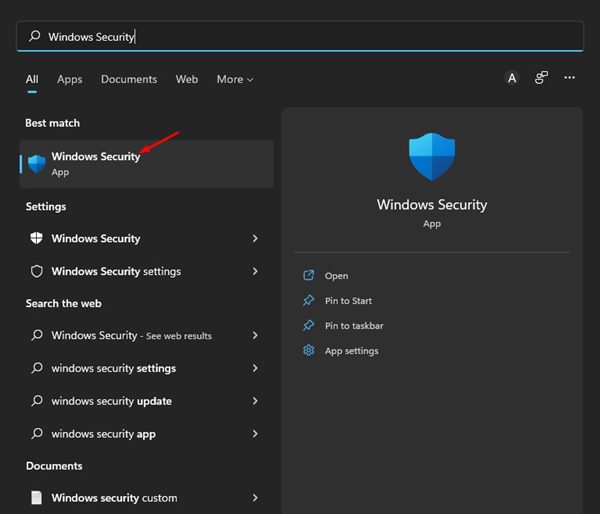
1. First, click on the Windows 11 search and type in Windows Security. Next, open the Windows Security app from the list.
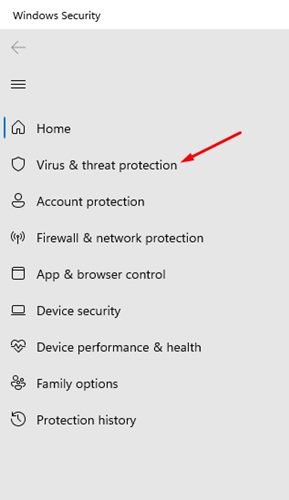
2. On the Windows Security app, click on the Virus & threat protection option below.
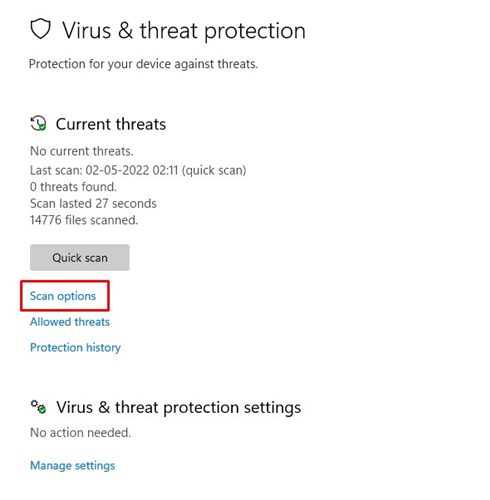
3. On the right pane, click on the Scan options link underneath the Current Threats section.
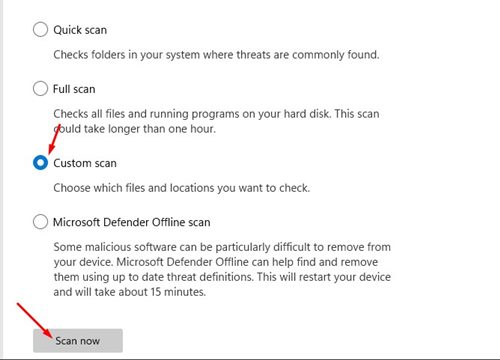
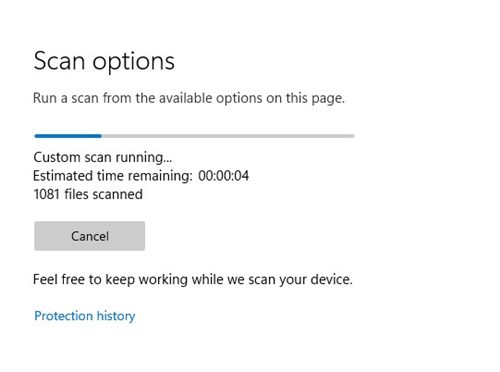
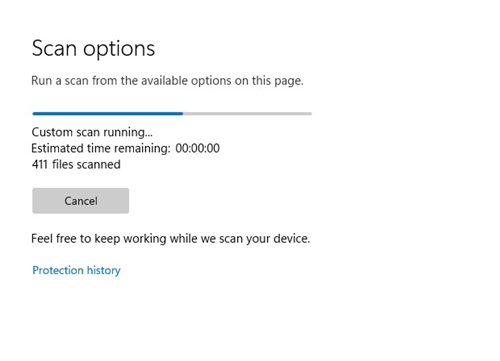
4. On the Scan options page, scroll down and select the Custom Scan option. Next, click on the Scan now button.
5. You will be asked to select the file or folder you want to scan. Select the folder you want to scan.
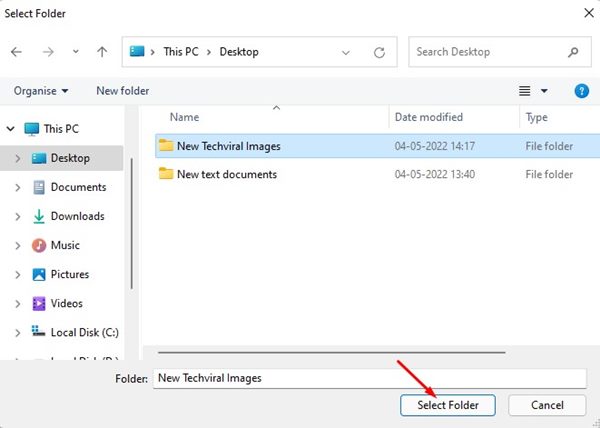
Note: You can’t select files. If you want to scan a particular file, you need to move the file to a folder and then select that folder on the Windows Security app.
6. Now click on the Select Folder button, and the Windows Security app will run the Scan.
That’s it! You are done. This is how you can scan a single file or folder in Windows 11 via the Windows Security app.
2) Scan a Single file or Folder via Context Menu
If you use Windows Security as the default security app on Windows 11, you can run a custom scan via the Context menu. Here’s how to scan a single file or folder via the Context menu on Windows 11.
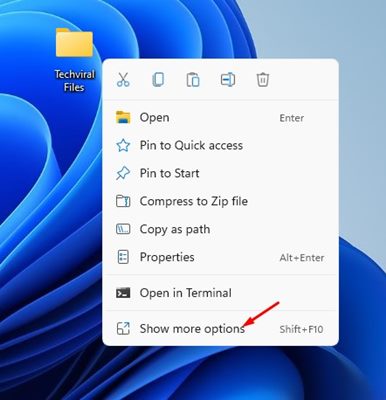
1. First of all, locate the file or folder you want to scan.
2. Right-click on the File or folder and select Show more options.
3. Click on the Scan with Microsoft Defender option on the Classic context menu.
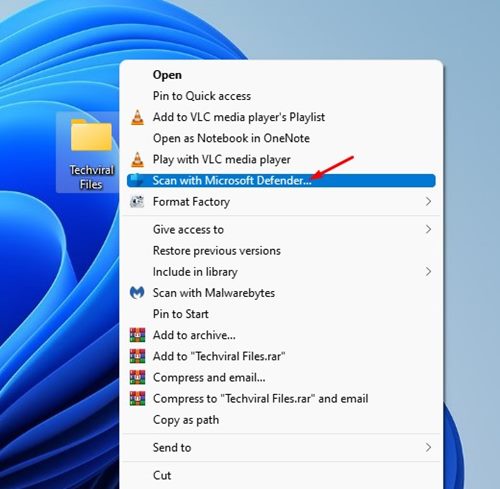
4. The Windows Security app will immediately scan the selected file or folder.
That’s it! You are done. This is how you can run a custom scan on Windows 11 via Windows Security app.
Windows Security is a very robust security tool that every user should use. So, these are the two best ways to scan a single file or folder in Windows 11. Compared to Full Scans, the Quick scans on Windows 11 take less time to complete.
The post How to Scan a Single File or Folder With Windows Security appeared first on Tech Viral.
ethical hacking,hacking,bangla ethical hacking,bangla hacking tutorial,bangla tutorial,bangla hacking book,ethical hacking bangla,bangla,hacking apps,ethical hacking bangla tutorial,bangla hacking,bangla hacking pdf,bangla hacking video,bangla android hacking,bangla hacking tutorials,bangla fb hacking tutorial,bangla hacking book download,learn ethical hacking,hacking ebook,hacking tools,bangla ethical hacking course, tricks,hacking,ludo king tricks,whatsapp hacking trick 2019 tricks,wifi hacking tricks,hacking tricks: secret google tricks,simple hacking tricks,whatsapp hacking tricks,tips and tricks,wifi tricks,tech tricks,redmi tricks,hacking trick paytm cash,hacking trick helo app,hacking trick of helo app,paytm cash hacking trick,wifi password hacking,paytm cash hacking trick malayalam,hacker tricks, tips and tricks,pubg mobile tips and tricks,tricks,tips,tips and tricks for pubg mobile,100 tips and tricks,pubg tips and tricks,excel tips and tricks,google tips and tricks,kitchen tips and tricks,season 2 tips and tricks,android tips and tricks,fortnite tips and tricks,godnixon tips and tricks,free fire tips and tricks,advanced tips and tricks,whatsapp tips and tricks, facebook tricks,facebook,facebook hidden tricks,facebook tips and tricks,facebook latest tricks,facebook tips,facebook new tricks,facebook messenger tricks,facebook android app tricks,fb tricks,facebook app tricks,facebook tricks and tips,facebook tricks in hindi,tricks,facebook tutorial,new facebook tricks,cool facebook tricks,facebook tricks 2016,facebook tricks 2017,facebook secret tricks,facebook new tricks 2020,blogger blogspot seo tips and tricks,blogger tricks,blogger,blogger seo tips,blogger seo tips and tricks,seo for blogger,blogger seo in hindi,blogger seo best tips for increasing visitors,blogging tips and tricks,blogger blog seo,blogger seo in urdu,adsense approval trick,blogging tips and tricks for beginners,blogging tricks,blogger tutorial,blogger tricks 2016,blogger tricks 2017 bangla,tricks,bangla tutorial,bangla magic,bangla motivational video,bangla tricks,bangla tips,all bangla tips,magic tricks,akash bangla tricks,top 10 bangla tricks,tips and tricks,all bangla trick,bangla computer tricks,computer bangla tricks,bangla magic card tricks,ms word bangla tips and tricks,bangla computer tips,trick,psychology tricks,youtube bangla,magic tricks bangla,si trick Credit techviral


