How To Kill ‘Antimalware Service Executable’ In Windows 10
If you have been using the Windows operating system for a while, you may know that Windows is not entirely free from bugs and errors. Not just that, but the operating system is also not entirely secure. However, to deal with security issues, Windows provides users with a built-in security tool known as Windows Defender.
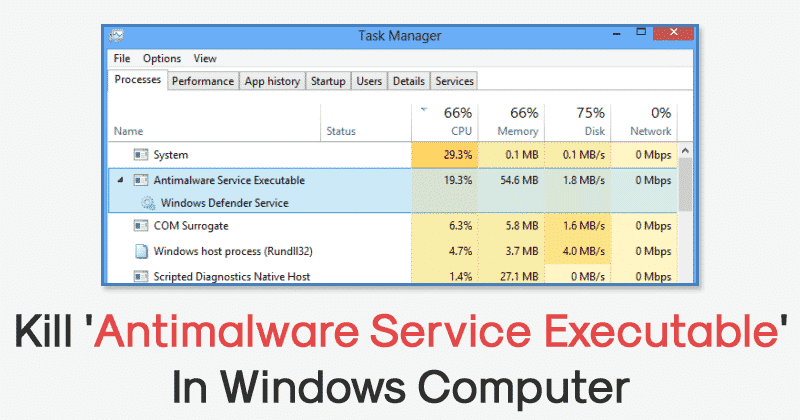
Windows Defender runs an antimalware process in the background that continuously checks and protects your system against malware attacks. The Microsoft Antimalware Service Executable runs in the background and consumes many RAM and CPU resources.
Although Antimalware Service Executable is a necessary process that secures the system, it consumes lots of resources which cause our computer to slow down. What’s worst is that users can’t directly ‘End Task’ the Antimalware Service Executable from the task manager.
Ways To Kill ‘Antimalware Service Executable’ In Windows 10
So, in this article, we have decided to share some of the best methods to kill ‘Antimalware Service Executable’ entirely from Windows 10 computers. So, let’s know how to stop Antimalware Service Executable from running in Windows 10.
1. Disable the Real-Time Protection of Windows Security
You can disable the real-time protection feature of Windows Security to get rid of the Antimalware executable process. However, we recommend you install another security tool after disabling the real-time protection on the Windows Security app.
1. First, click on Windows Search and type ‘Windows Security‘. Next, open the Windows Security app from the list.
2. When the Windows Security app opens, click on the ‘Virus & threat protection‘ tab.
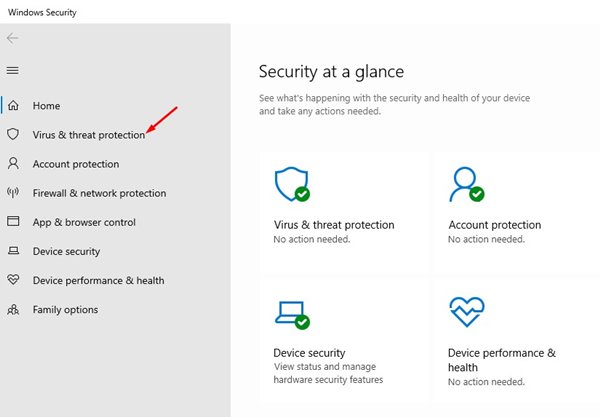
3. Next, click on the ‘Manage Settings‘ link under the Virus & threat protection settings.

4. On the next screen, disable the toggle for ‘Real-time protection‘. You can also disable the other two options – Cloud-delivered protection and Automatic sample submission.
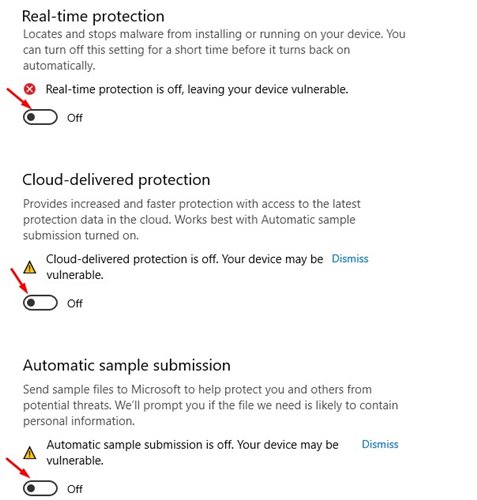
That’s it! This will disable the real-time protection feature of Windows Security/Defender and would fix the Antimalware Service Executable high CPU usage problem.
2. Disable Windows Defender From The Registry Editor
Since the ‘Antimalware Service Executable’ is associated with Windows Defender, we need to disable the Windows Defender from the Registry Editor. Although you can disable Windows Defender from Settings, it still runs some processes in the background. So, here’s how to disable Windows Defender from the Registry Editor.
1. First, open the Run Dialog box and type in regedit.
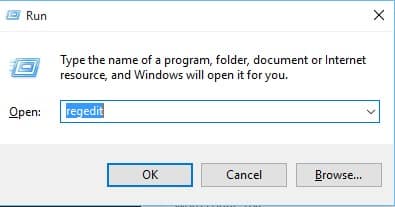
2. Now head to the following path – HKEY_LOCAL_MACHINE\SOFTWARE\Policies\Microsoft\Windows Defender
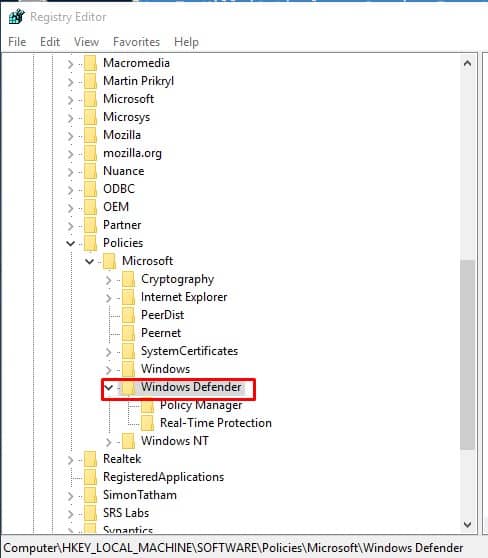
3. In the next step, right-click on the Windows Defender and choose New > DWORD.
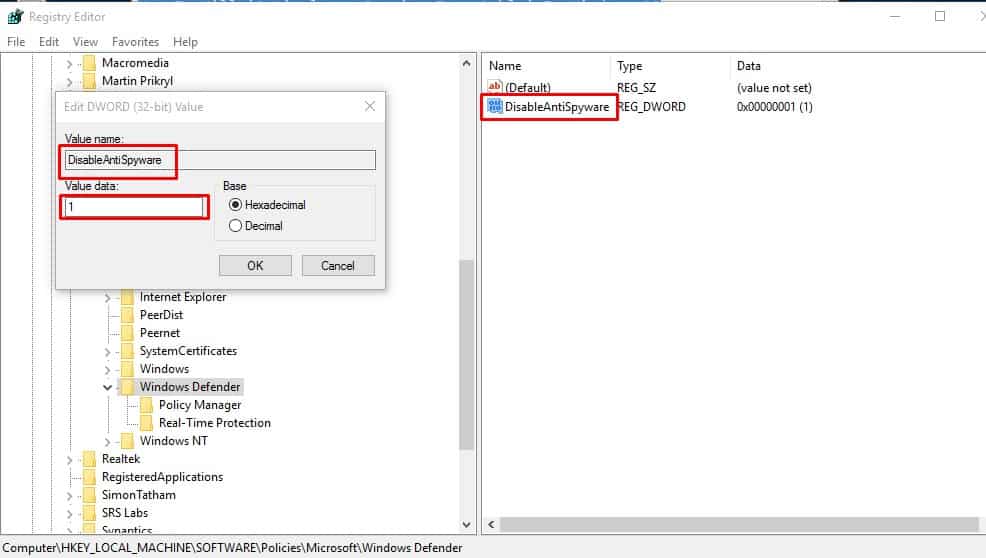
4. Name the new key as DisableAntiSpyware, double-click on it, and set the value to 1.
3. Stop ‘Antimalware Service Executable’ from Group Policy Editor
If the registry method failed to stop the ‘Antimalware Service Executable’. Then, you can consider this method. In this method, users must change the Group Policy Editor to kill the process.
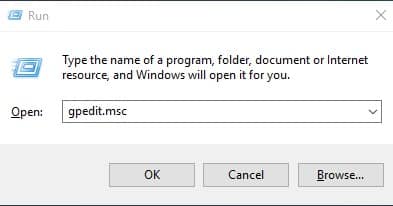
1. Open the RUN dialog box and type in gpedit.msc
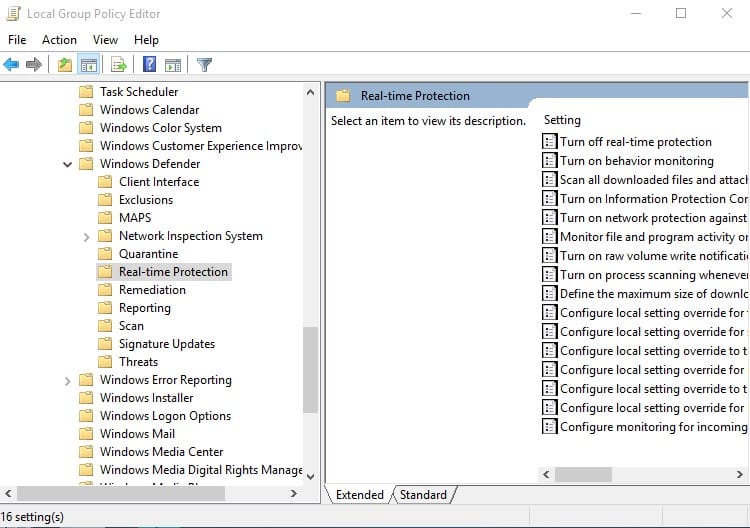
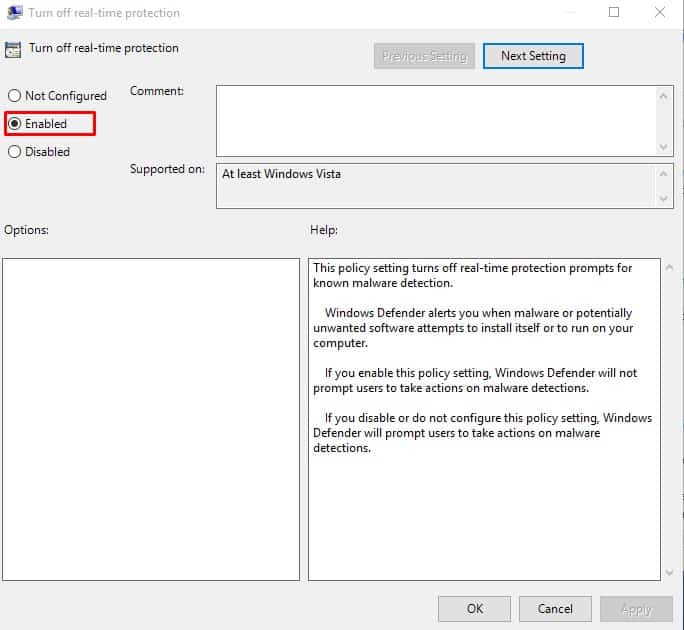
2. On the Group Policy Editor, head to the following path – Computer Configuration/Administrative Templates/Windows Components/Windows Defender Antivirus/Real-time Protection. On the right-hand side menu, double-click on Turn off real-time protection.
3. In the next window, select Enabled and click on Apply.
4. Disable Scheduled Tasks
Windows Defender has a few tasks scheduled to ensure proper security and protection. Since it’s scheduled to start at a given time, users don’t get the option to end the ‘Antimalware Service Executable’. So, in this method, users need to disable every scheduled task associated with Windows Defender to kill ‘Antimalware Service Executable’
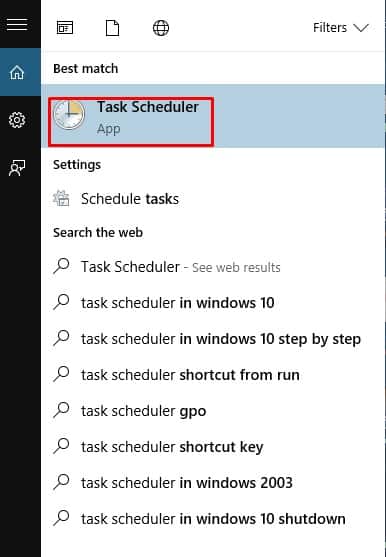
1. First of all, open the Windows 10 search menu and search for Task Scheduler
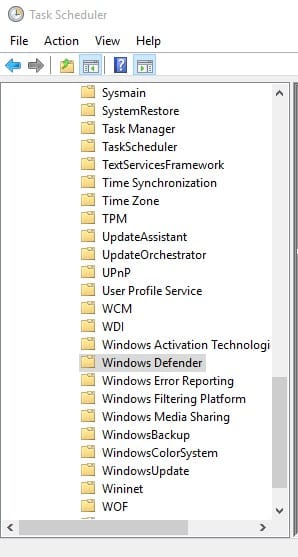
2. In the next step, head to the following path – Task Scheduler Library > Microsoft > Windows > Windows Defender.
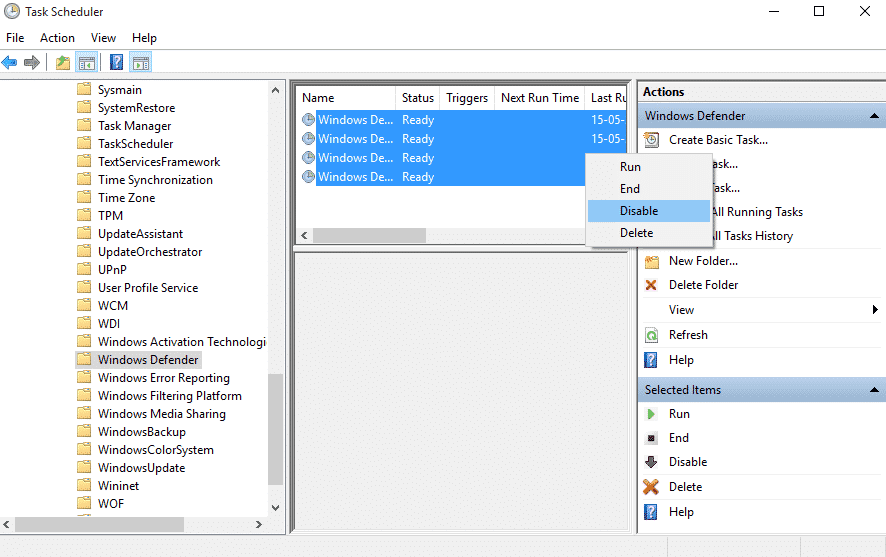
3. You will see four scheduled tasks. Right-click on all of them and select Disable
5. Install Any Other Antivirus tool
Windows Defender runs when your system doesn’t have any third-party security tool. Windows Defender won’t run side by side with any third-party software. So, if the methods mentioned above failed to disable the ‘Antimalware Service Executable’ from the Task Manager, you must install a third-party antivirus.
Third-party security tools like Malwarebytes and Kaspersky Security are more powerful and capable than the default Windows Defender. For a complete list of security tools, check out our article.
So, these are the four best methods to fix the ‘Antimalware Service Executable’ from Windows 10. Let us know in the comment box below if you know of any other way to fix the problem.
The post How To Kill ‘Antimalware Service Executable’ In Windows 10 appeared first on TechViral.
ethical hacking,hacking,bangla ethical hacking,bangla hacking tutorial,bangla tutorial,bangla hacking book,ethical hacking bangla,bangla,hacking apps,ethical hacking bangla tutorial,bangla hacking,bangla hacking pdf,bangla hacking video,bangla android hacking,bangla hacking tutorials,bangla fb hacking tutorial,bangla hacking book download,learn ethical hacking,hacking ebook,hacking tools,bangla ethical hacking course, tricks,hacking,ludo king tricks,whatsapp hacking trick 2019 tricks,wifi hacking tricks,hacking tricks: secret google tricks,simple hacking tricks,whatsapp hacking tricks,tips and tricks,wifi tricks,tech tricks,redmi tricks,hacking trick paytm cash,hacking trick helo app,hacking trick of helo app,paytm cash hacking trick,wifi password hacking,paytm cash hacking trick malayalam,hacker tricks, tips and tricks,pubg mobile tips and tricks,tricks,tips,tips and tricks for pubg mobile,100 tips and tricks,pubg tips and tricks,excel tips and tricks,google tips and tricks,kitchen tips and tricks,season 2 tips and tricks,android tips and tricks,fortnite tips and tricks,godnixon tips and tricks,free fire tips and tricks,advanced tips and tricks,whatsapp tips and tricks, facebook tricks,facebook,facebook hidden tricks,facebook tips and tricks,facebook latest tricks,facebook tips,facebook new tricks,facebook messenger tricks,facebook android app tricks,fb tricks,facebook app tricks,facebook tricks and tips,facebook tricks in hindi,tricks,facebook tutorial,new facebook tricks,cool facebook tricks,facebook tricks 2016,facebook tricks 2017,facebook secret tricks,facebook new tricks 2020,blogger blogspot seo tips and tricks,blogger tricks,blogger,blogger seo tips,blogger seo tips and tricks,seo for blogger,blogger seo in hindi,blogger seo best tips for increasing visitors,blogging tips and tricks,blogger blog seo,blogger seo in urdu,adsense approval trick,blogging tips and tricks for beginners,blogging tricks,blogger tutorial,blogger tricks 2016,blogger tricks 2017 bangla,tricks,bangla tutorial,bangla magic,bangla motivational video,bangla tricks,bangla tips,all bangla tips,magic tricks,akash bangla tricks,top 10 bangla tricks,tips and tricks,all bangla trick,bangla computer tricks,computer bangla tricks,bangla magic card tricks,ms word bangla tips and tricks,bangla computer tips,trick,psychology tricks,youtube bangla,magic tricks bangla,si trick Credit techviral


