How to Take Screenshots on Windows 11 (7 Best Methods)
You must capture a screenshot if you want to show other users exactly what you see on your computer screen. A screenshot, sometimes referred to as a screengrab, is an image that captures everything displayed on your computer screen.
You can take a screenshot on your Android, iPhone, or even on the new Windows 11 operating system. Taking screenshots isn’t just handy; it could be a time-saver, especially when you need to demonstrate something that would otherwise be difficult to explain in words.
How to Take Screenshots on Windows 11
On Windows 11, you get a built-in tool and a few free third-party options to capture and share screenshots with others. Hence, this article will list the few best and easiest methods to capture screenshots on Microsoft’s new Windows 11. Let’s check out.
1. Take a Screenshot using the PrtSc key
Although there are many ways to take a screenshot in Windows 11, the handiest option is the PrtSc button on your keyboard. Regardless of which Windows version you use, you can instantly press the PrtSc key to capture a screenshot.
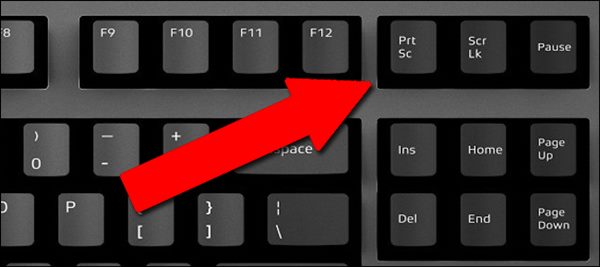
The only drawback of the PrtSc function is that it only captures the items displayed on your current screen. You won’t be able to capture long scrolling screenshots or specific regions with PrtSc. If you only press the PrtSc key on your keyboard, the screenshot will be saved on the clipboard. You need to open the Paint app to paste the screenshot you captured.
To capture a screenshot, just open the screen you want to capture and press the PrtSc key. This will capture the screenshot; next, open the Paint app and press the CTRL + V button. This will paste the screenshot.
2. Take a Screenshot using Windows + PrtSc Key Combination
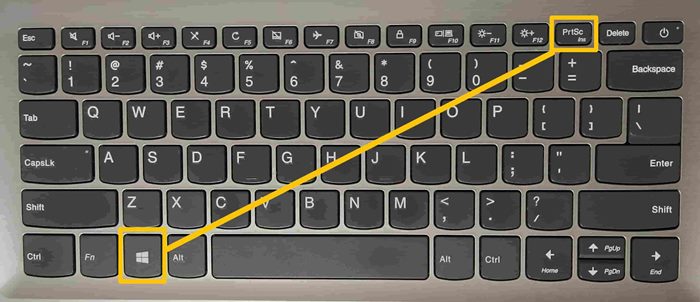
If you don’t want PrtSc to save your screenshots to the clipboard, you must utilize this key combination. Pressing the Windows + PrtSc Key together captures the screenshot and gets saved to the Pictures > Screenshot folder.
3. Use the PrtScn with OneDrive
The OneDrive client for Windows has a feature that automatically saves the screenshots in the OneDrive cloud folder.
We have mentioned this because it’s a bit different than the standard PrtScn option because it doesn’t require opening an app and pasting the screenshot from the clipboard.
You just need to configure the OneDrive client to automatically save screenshots that you capture to the OneDrive Screenshot folder. Here’s what you need to do.
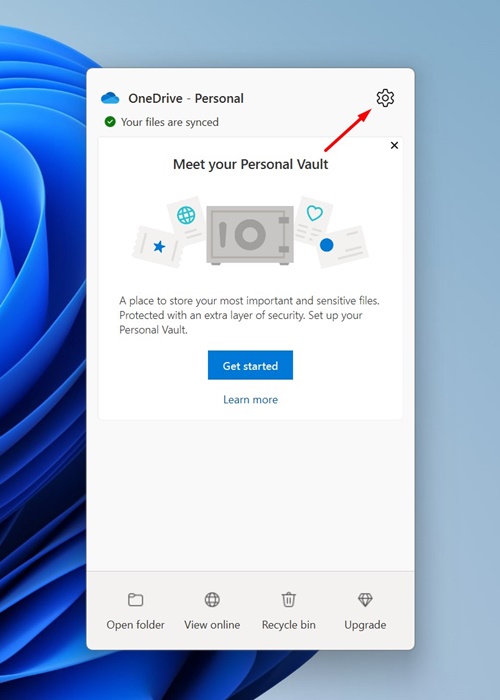
1. To get started, right-click on the OneDrive client on the taskbar.
2. Next, select Settings to open the OneDrive client.
3. In the OneDrive Settings, switch to Sync and Backup.
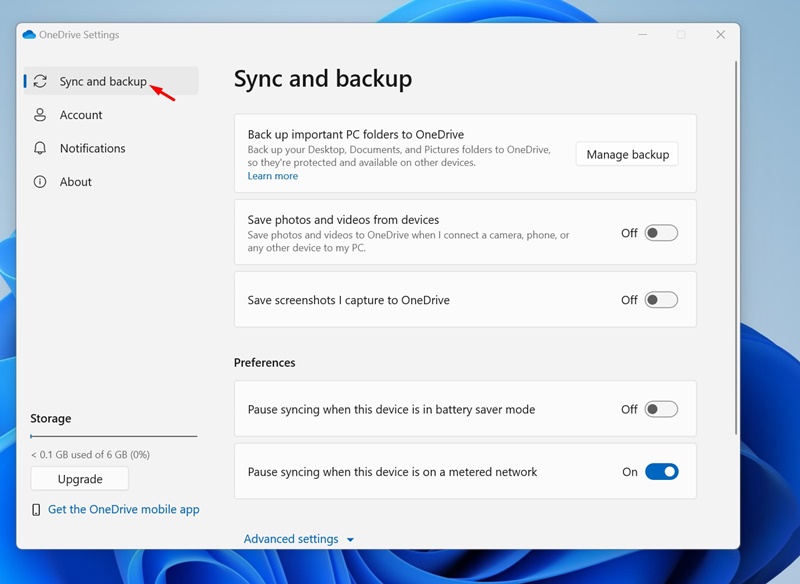
4. On the right side, enable the toggle next to Save screenshots i capture to OneDrive.
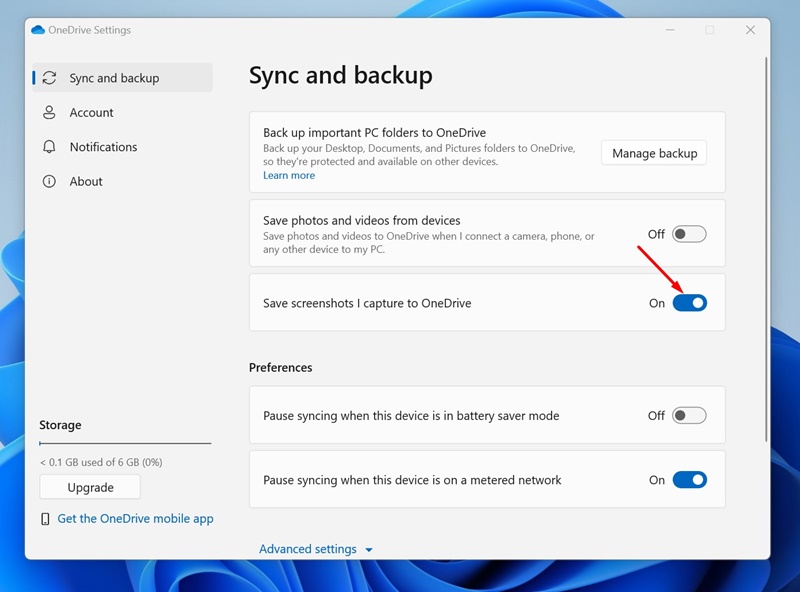
After making the change, press the Print Screen key to capture a screenshot. Once captured, the screenshot will be automatically saved to OneDrive. You can access the saved screenshots from any device.
4. Using Snipping Tool
Snipping Tool is a built-in utility of the Windows operating system that captures screenshots. The Snipping Tool feature is available on Windows 10 and 11 operating systems.
To use the Snipping Tool on your Windows 11 operating system, follow some simple steps below.
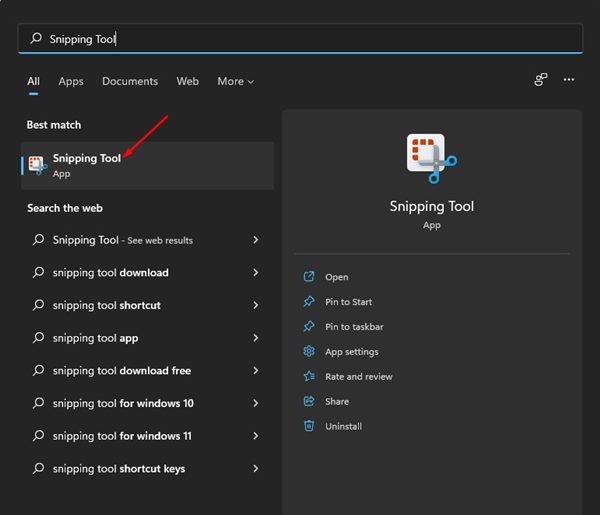
1. First, open Windows 11 Search and type in Snipping Tool. Next, open the Snipping Tool from the list.
2. Alternatively, press the Windows + Shift + S key on your keyboard to launch the Windows Snipping Tool.
3. You will find four options to capture screenshots – Rectangular Snip, Freeform Snip, Window Snip, and Fullscreen Snip.

4. Depending on the type of screenshot you want to capture, select the option and capture the screen.

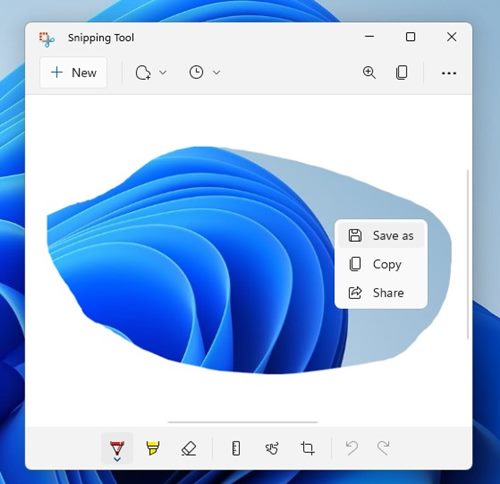
5. Now, you will be able to view the screenshot. Right-click on the image and select the Save as option to save it on your storage device.
That’s it! You are done. This is how you can use the Snipping tool to capture screenshots in Windows 11.
5. Capture Screenshot using the Xbox Game Bar
In this method, we will use the Xbox Game bar to take a screenshot in Windows 11. However, to use the Xbox Game bar, you need to enable the feature on your device. For that, follow our guide –
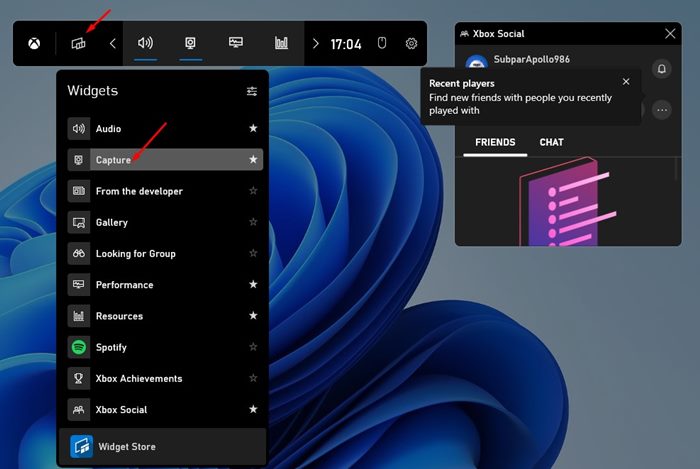
1. First of all, press the Windows + G key on your keyboard. This will open the Xbox Game bar on your device.
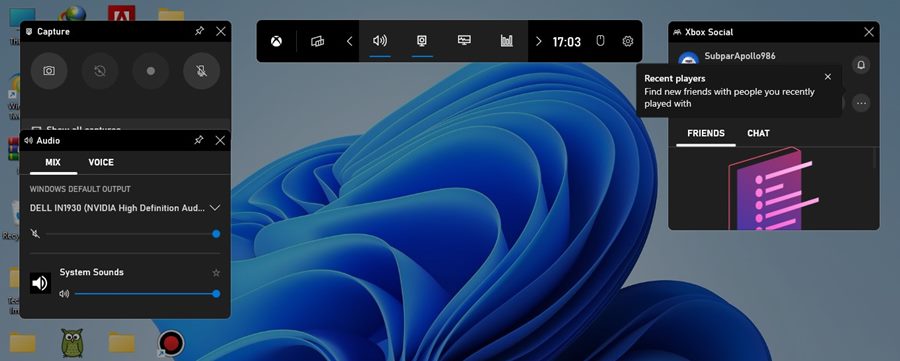
2. On the top, click the Widgets option and select the Capture Widget.
3. On the Capture Widget, click the camera icon to capture the current app or desktop.
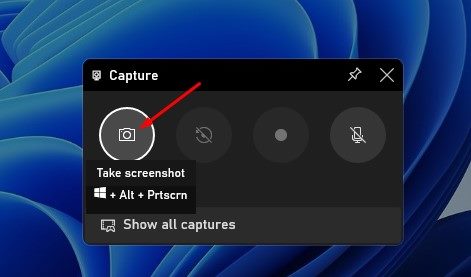
4. The captured screenshot will be saved to C:\Users\[username]\Videos\Captures folder. Browse the folder, and you will find your screenshot there.
It’s pretty easy to capture screenshots on Windows 11 with the Xbox Game bar, and the best part is that the utility is free to use.
6. Capture Screenshot using Lightshot
Lightshot is a third-party screenshot utility that’s extremely lightweight and free to use. You can rely on the Lightshot utility to capture screenshots and annotate the images. Here’s how to use Lightshot.
1. First of all, download & install Lightshot on your Windows 11 computer.

2. The Lightshot app icon will be added to the system tray.
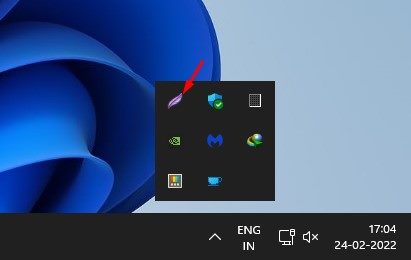
3. Click on the Lightshot icon and select the area you want to capture.
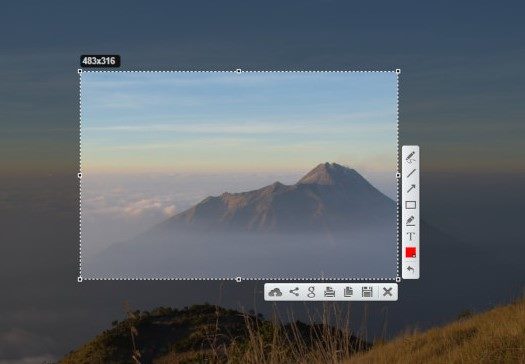
4. Once done, you can edit the image or create an instant sharable link.
That’s it! You are done. This is how you can use Lightshot to capture screenshots in Windows 11.
7. Use Third-Party Screenshot Utilities
Lightshot is not the only third-party screenshot tool available for Windows. You have many other options available as well.
Third-party screenshot tools for Windows provide you with more control over your screenshots. For example, you can draw on screenshots, add texts, etc., immediately after capturing a screenshot.
Also, several screen recording tools of Windows let you capture screenshots. For a list of the best screenshot tools, check our guide – Best Windows Screenshot Tools.
Also Read: 10 Best Screen Recorder for Windows 11
You get plenty of ways to capture screenshots in Windows 11. You can even use other third-party screenshot tools to capture screenshots. I hope this article helped you! Please share it with your friends also. If you have any doubts, let us know in the comment box below.
The post How to Take Screenshots on Windows 11 (7 Best Methods) appeared first on TechViral.
ethical hacking,hacking,bangla ethical hacking,bangla hacking tutorial,bangla tutorial,bangla hacking book,ethical hacking bangla,bangla,hacking apps,ethical hacking bangla tutorial,bangla hacking,bangla hacking pdf,bangla hacking video,bangla android hacking,bangla hacking tutorials,bangla fb hacking tutorial,bangla hacking book download,learn ethical hacking,hacking ebook,hacking tools,bangla ethical hacking course, tricks,hacking,ludo king tricks,whatsapp hacking trick 2019 tricks,wifi hacking tricks,hacking tricks: secret google tricks,simple hacking tricks,whatsapp hacking tricks,tips and tricks,wifi tricks,tech tricks,redmi tricks,hacking trick paytm cash,hacking trick helo app,hacking trick of helo app,paytm cash hacking trick,wifi password hacking,paytm cash hacking trick malayalam,hacker tricks, tips and tricks,pubg mobile tips and tricks,tricks,tips,tips and tricks for pubg mobile,100 tips and tricks,pubg tips and tricks,excel tips and tricks,google tips and tricks,kitchen tips and tricks,season 2 tips and tricks,android tips and tricks,fortnite tips and tricks,godnixon tips and tricks,free fire tips and tricks,advanced tips and tricks,whatsapp tips and tricks, facebook tricks,facebook,facebook hidden tricks,facebook tips and tricks,facebook latest tricks,facebook tips,facebook new tricks,facebook messenger tricks,facebook android app tricks,fb tricks,facebook app tricks,facebook tricks and tips,facebook tricks in hindi,tricks,facebook tutorial,new facebook tricks,cool facebook tricks,facebook tricks 2016,facebook tricks 2017,facebook secret tricks,facebook new tricks 2020,blogger blogspot seo tips and tricks,blogger tricks,blogger,blogger seo tips,blogger seo tips and tricks,seo for blogger,blogger seo in hindi,blogger seo best tips for increasing visitors,blogging tips and tricks,blogger blog seo,blogger seo in urdu,adsense approval trick,blogging tips and tricks for beginners,blogging tricks,blogger tutorial,blogger tricks 2016,blogger tricks 2017 bangla,tricks,bangla tutorial,bangla magic,bangla motivational video,bangla tricks,bangla tips,all bangla tips,magic tricks,akash bangla tricks,top 10 bangla tricks,tips and tricks,all bangla trick,bangla computer tricks,computer bangla tricks,bangla magic card tricks,ms word bangla tips and tricks,bangla computer tips,trick,psychology tricks,youtube bangla,magic tricks bangla,si trick Credit techviral


